Using TestFlight
Using TestFlight
TestFlight makes it very easy to distribute app builds to testers. This post mainly introduces how to use TestFlight internal testing.
Uploading the App
First, you need to upload the app to iTunes Connect. This is basically the same as submitting an app for review and release on iTunes Connect, so you need a distribution certificate and provisioning profile, but it does not have to be a Release build. It can also be Debug, since we only need it for testing.
Sending Invitations
Go to iTunes Connect, select the app, click the TestFlight menu at the top, choose Internal Testing, and then click Select Version to Test on the right to choose the version you want to test. 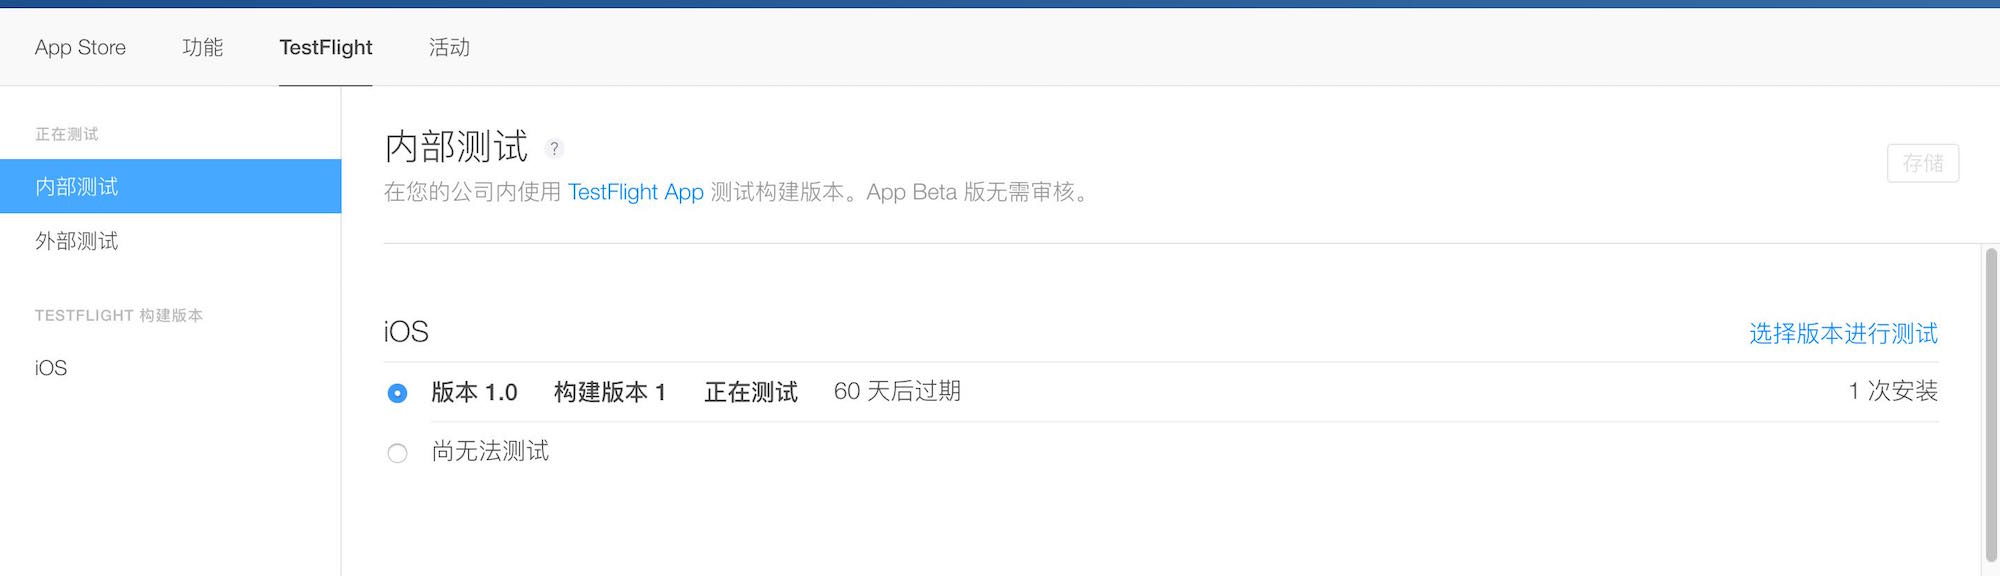
After you select the version, click the + icon to the right of Internal Testers. You will find that you can only add the current developer’s email address. After adding it, click the + icon again and follow the prompt to go to the Users and Roles section.
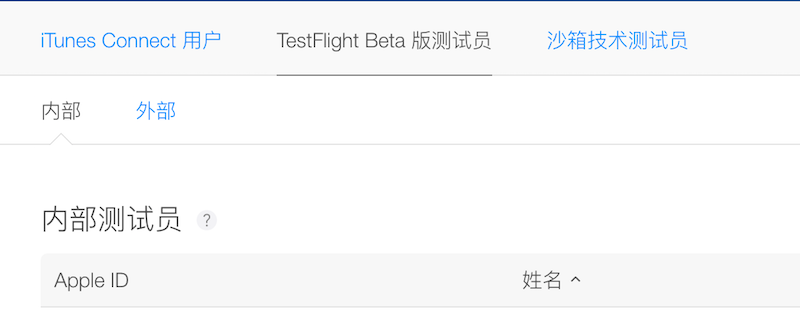
At the top there are three menus: iTunes Connect Users, TestFlight Beta Testers, and Sandbox Testers. By intuition, most people would think it makes more sense to add testers under the Internal Testers section in the TestFlight Beta Testers menu, but you cannot really do anything there.
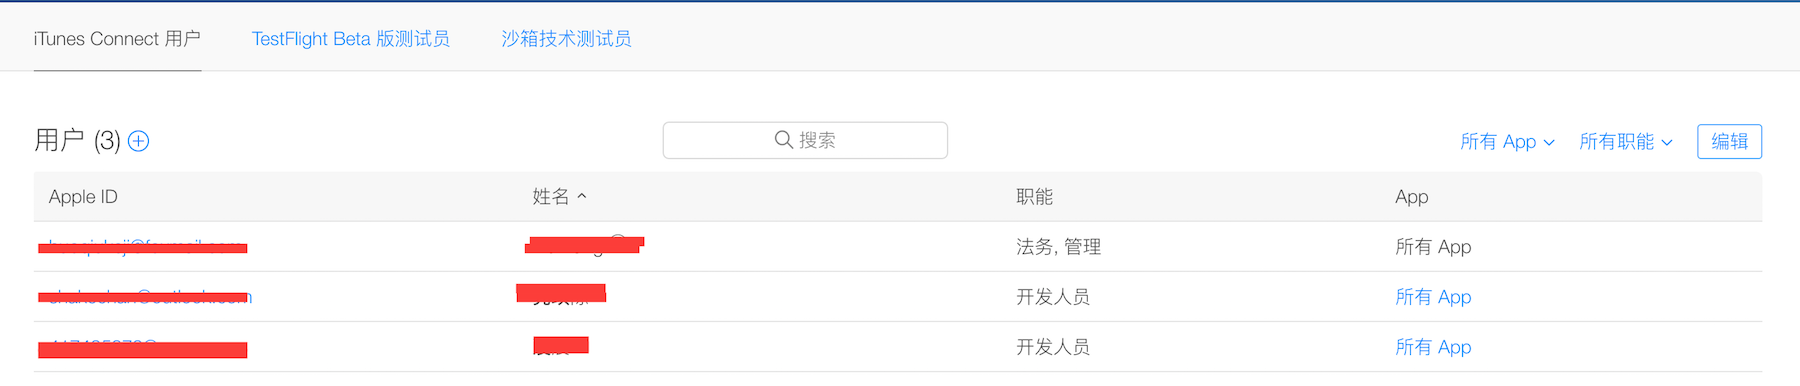
We need to click the iTunes Connect Users menu and add the user there. Click the + icon on the right of the user list below to add a user (any role is fine). The added user will receive an email, and once they click the confirmation link in the email, the user will appear here.
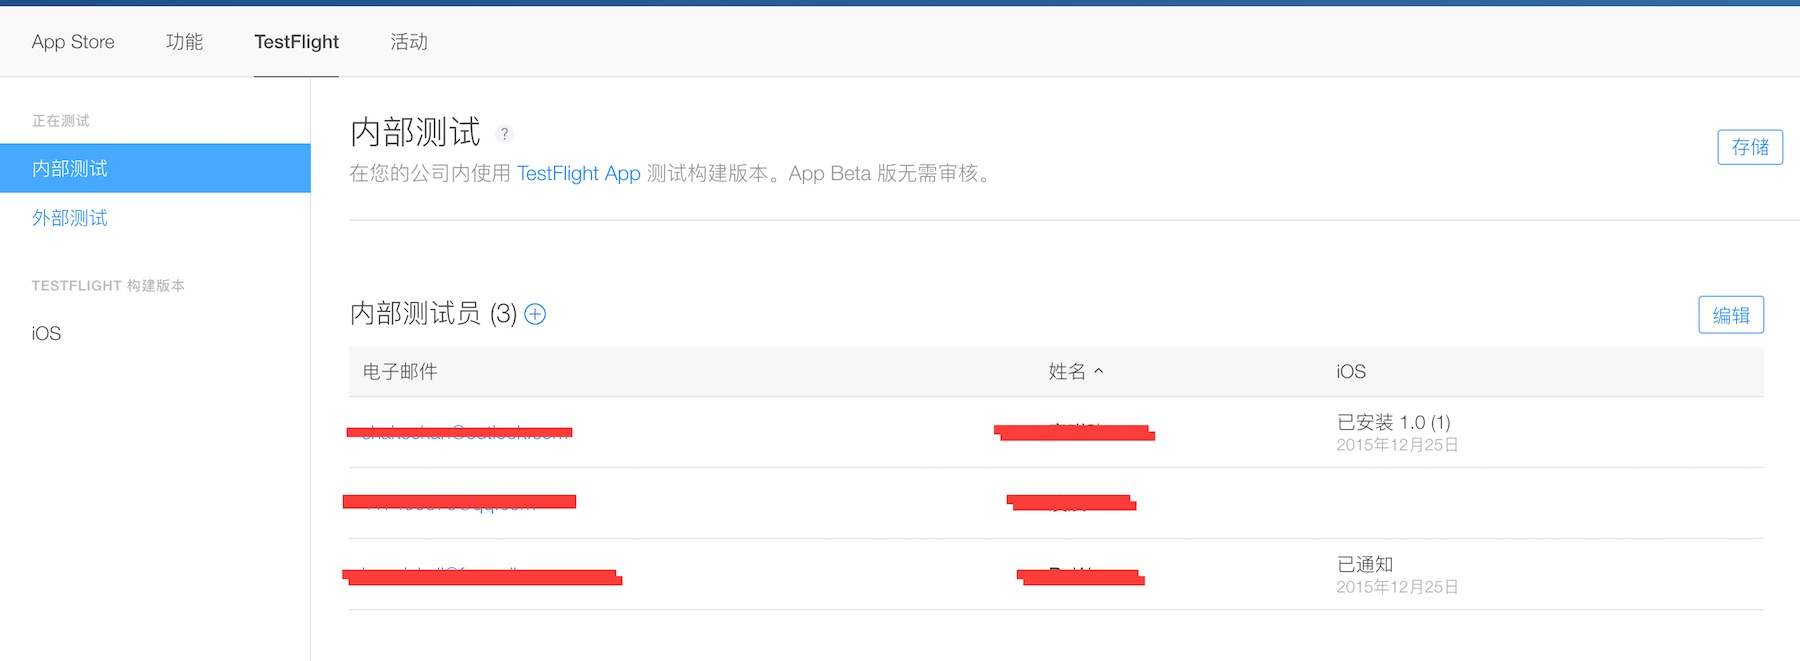
Only users added under iTunes Connect Users can be invited to test the app, so go back to the My Apps section, choose the app you want to test, and click the TestFlight menu at the top. At this point, the + icon to the right of Internal Testers can be used to add the users you just added. After selecting the testers, click Done, and do not forget to click Save.
Verification
After clicking Save, everyone will also receive an invitation email. Do not rush to verify the email yet. Before that, you still need one more step: install TestFlight on your phone and sign in. Once that is done, open the verification email on your phone and tap Start Testing, and you will be taken to the TestFlight app to install the build.
If you are verifying on a PC, you will receive a verification code. In that case, you need to tap the Redeem button in TestFlight and enter the code to install the app.
Test Content
Simply put, testers need to know what changed in this update so they can test it more effectively. Under the TestFlight menu, you will see a Build XXX item. 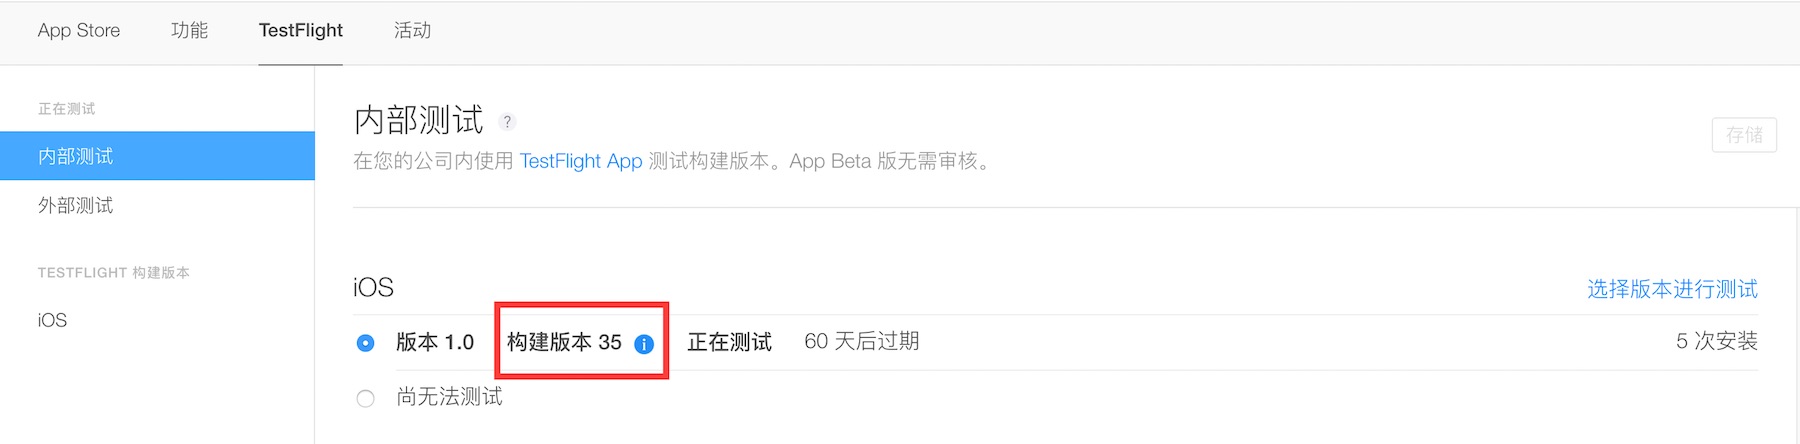 Click it and you will enter the screen for filling in the test content and app description. Do not forget to click Save after filling it out. Then, go back to the TestFlight app and open the detail page for the test app you just installed. You will be able to see the test content under
 What to Test.
Finally
After each app upload, it usually takes about ten minutes for clients to receive the TestFlight update notification. In other words, you do not need to manually select the new version for testing.